Introduction
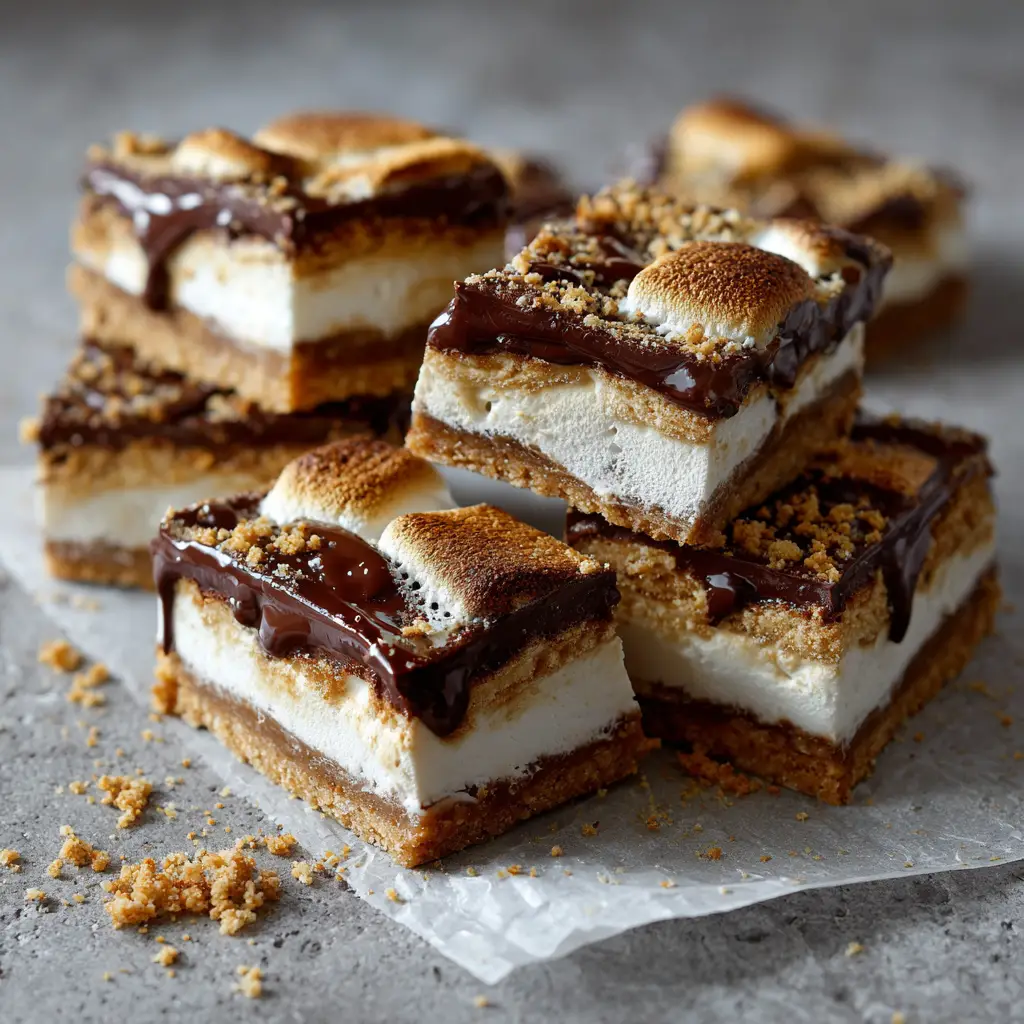
S’mores bars are a rich, gooey dessert inspired by the classic campfire treat everyone loves. Traditionally, s’mores are made by roasting marshmallows over a fire and sandwiching them between graham crackers and chocolate. S’mores bars capture all those delicious flavors—crunchy graham base, melted chocolate, and soft marshmallow topping—in a convenient baked form that’s perfect for sharing.
These dessert bars are ideal for parties, bake sales, potlucks, or family movie nights. Unlike traditional campfire s’mores, you don’t need a fire pit to enjoy them. Everything is baked together in one pan, making preparation simple and mess-free.
Homemade s’mores bars are also highly customizable. You can use different types of chocolate, add peanut butter, or even mix in caramel for extra indulgence. Whether you’re craving a nostalgic dessert or looking for an easy crowd-pleasing recipe, s’mores bars are always a winning choice.

Ingredients
| Ingredient | Quantity | Calories Approx |
|---|---|---|
| Graham cracker crumbs | 2 cups | 800 |
| Unsalted butter (melted) | ½ cup | 800 |
| Granulated sugar | ¼ cup | 200 |
| Milk chocolate bars (chopped) | 2 cups | 960 |
| Mini marshmallows | 3 cups | 300 |
| Vanilla extract | 1 tsp | 12 |
| Salt | ¼ tsp | 0 |
Step-by-Step Cooking Instructions
Step 1 – Preheat the Oven
Preheat your oven to 350°F (175°C). Line a 9×13-inch baking pan with parchment paper or lightly grease it to prevent sticking.
Step 2 – Prepare the Graham Cracker Base
In a mixing bowl, combine graham cracker crumbs, melted butter, sugar, and salt. Mix until the crumbs are evenly coated and resemble wet sand.
Step 3 – Press the Crust
Firmly press the crumb mixture into the bottom of the prepared baking pan, creating an even layer. Use the back of a spoon or the bottom of a glass to compact it well.
Step 4 – Pre-Bake the Crust
Bake the crust for 8–10 minutes until lightly golden. Remove from the oven and let it cool slightly.
Step 5 – Add the Chocolate Layer
Sprinkle the chopped milk chocolate evenly over the warm crust. The heat from the crust will start to soften the chocolate slightly.
Step 6 – Add Marshmallows
Spread the mini marshmallows evenly over the chocolate layer, covering the surface completely.
Step 7 – Bake Again
Return the pan to the oven and bake for 10–15 minutes, or until the marshmallows are puffed and golden brown on top. Keep an eye on them to prevent burning.
Step 8 – Cool and Slice
Allow the bars to cool completely at room temperature before slicing. This helps them set properly and makes cutting easier. Slice into squares and serve.
Prep Time & Cook Time
Prep Time: 15 minutes
Cook Time: 20–25 minutes
Total Time: 35–40 minutes
Servings
This recipe makes approximately 12–16 bars, depending on how large you cut them. It comfortably serves 8–10 people.
Tips & Variations
For a richer flavor, use dark chocolate instead of milk chocolate.
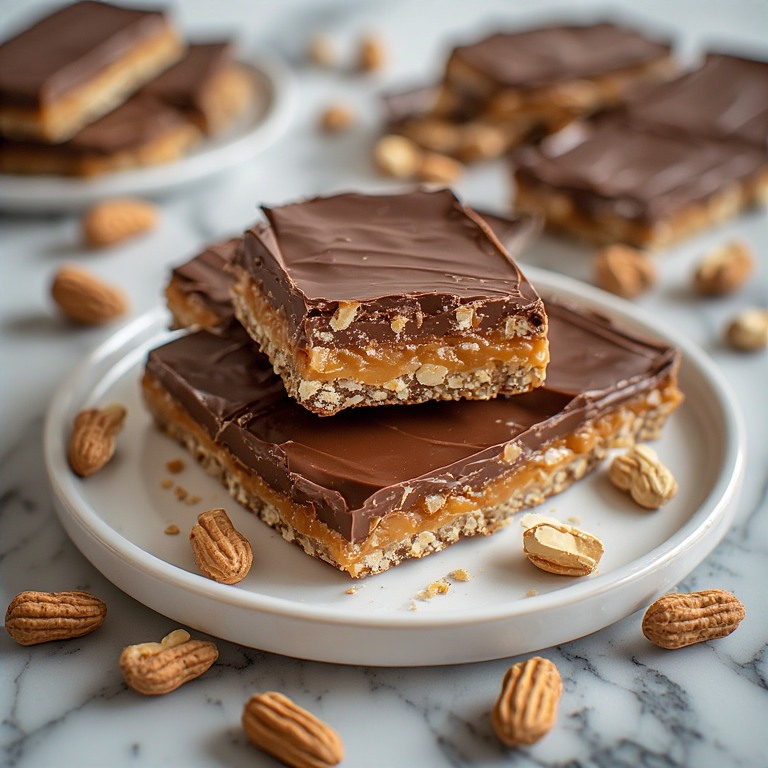
Add a layer of peanut butter chips or caramel sauce between the chocolate and marshmallows for extra sweetness.
If you prefer a crunchier texture, mix chopped nuts into the graham cracker crust.
Use large marshmallows cut in halves if mini marshmallows are unavailable.
For a slightly toasted finish, switch the oven to broil for 1–2 minutes at the end, but watch carefully to avoid burning.
You can also add a drizzle of melted chocolate on top after baking for a decorative touch.
Storage & Reheating
Store leftover s’mores bars in an airtight container at room temperature for up to 3 days. If your kitchen is warm, refrigerate them to prevent the chocolate from melting.
To reheat, microwave individual bars for 10–15 seconds to make the marshmallow soft and gooey again. These bars can also be frozen for up to 2 months. Wrap them tightly in plastic wrap and store in a freezer-safe container. Thaw at room temperature before serving.
Nutrition Information
| Nutrient | Amount per Serving |
|---|---|
| Calories | 350 |
| Protein | 4g |
| Fat | 18g |
| Carbohydrates | 45g |
| Fiber | 2g |
| Sodium | 180mg |
Serving Suggestions

S’mores bars taste best slightly warm when the chocolate is soft and the marshmallow layer is gooey. Serve them as a dessert after dinner with a glass of cold milk or a cup of hot coffee to balance the sweetness.
For parties, cut them into small bite-sized squares and arrange them on a dessert platter. They pair beautifully with brownies, cookies, and cupcakes for a complete dessert table.
These bars are also perfect for picnics and school events because they’re easy to transport and don’t require special equipment. Wrap individual squares in parchment paper for convenient grab-and-go treats.
Frequently Asked Questions
Can I make s’mores bars without baking?
Yes, you can prepare a no-bake version by using melted chocolate and marshmallow fluff, but baking gives a better texture and toasted flavor.
Can I use marshmallow fluff instead of mini marshmallows?
Yes, spread marshmallow fluff evenly over the chocolate layer, but note that the texture will be slightly softer.
How do I keep the marshmallows from sticking when cutting?
Lightly grease your knife with butter or cooking spray before slicing to make clean cuts.
Can I double this recipe?
Absolutely. Use a larger baking dish or bake two pans for bigger gatherings.
Conclusion
S’mores bars are a simple yet indulgent dessert that brings the nostalgic flavor of campfire treats into your kitchen. With a crunchy graham cracker crust, melted chocolate layer, and golden marshmallow topping, each bite is sweet, gooey, and satisfying.
This recipe is beginner-friendly and requires minimal ingredients, making it perfect for quick desserts or last-minute gatherings. You can customize the flavors to suit your preferences, whether by adding caramel, peanut butter, or dark chocolate.
With easy preparation, rich texture, and crowd-pleasing appeal, s’mores bars are guaranteed to become a favorite dessert for family and friends. Enjoy every gooey, chocolatey bite!